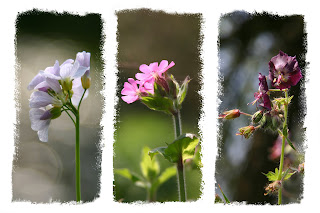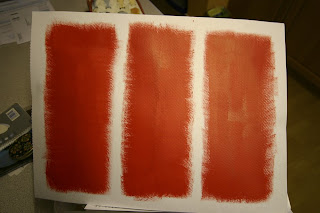


Make your own triptic frames. I found some almost dried up emulsion in the shed along with a few sheets of rough textured art paper. Using a short haired brush I roughed out three red rectangles and photographed it.
Okay I should have scanned it but some things are so simple that I forgot that it's possible to scan these sort of things.
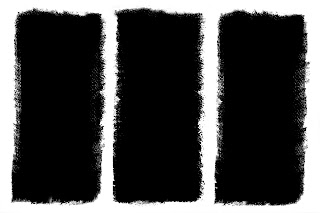
Going into Photoshop I opened the red image, went to levels, selected the Red channel and turned it near enough black. Back into RGB channel and clicked on the White and then the black eyedroppers to get my pure black triptic.
When you turn the Layer Mode to Screen the black still looks black, but really it's only an opaque window until another image is placed behind it. Now go looking for some suitable pictures.
The flowers seem to work better than some of my vintage vehicle images.
Bring each new image into Photoshop, move it down in the layer stack to below the black rectangles, then move it around until you have a satisfying result. Bring in the next image and do the same. If two of the images overlap in a window use the rectangular selection tool on the piece you don't want, hold down Control and the C key, which is Cut. This takes away the offending area. I use Cut so that if I make a mistake I can Paste it back in and have another try.
Why did I use red paint? It was the darkest emulsion in my shed.
For those who have no paint or no shed, click on the black triptic, save my image to your files and use that to experiment with this impressive technique.
You might also decide to make a greetings card by placing some text in one of the windows on top of, say, a gaussian blurred image of a plant.
