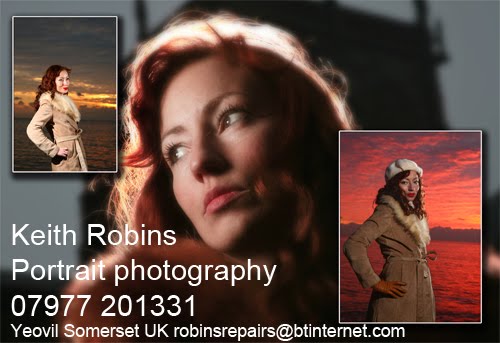
 Self portrait of Keith Robins, strobist and tutor of YeophotoGroup.
Main light is a £55 Vivitar 285hv from Hong Kong with DIY Corex board grid costing just 10 pence over my right shoulder. Fill-in flash is an ancient Starblitz 3000bt bounced into a Lastolite white reflector from low down. f11 - ISO100 @ 1/30th to record the daylight on the background. If a darker background was required I would have turned the shutter speed up to 1/200th or even 1/250th.
To fire the camera shutter I used a Canon wireless shutter release, which unfortunately only works from the front and has a limit of about ten feet. It is possible to use one of these gadgets from behind the camera by bouncing the infra red signal into a Mr Kipling mince pie dish stuck at the right angle on top of a Canon with Bluetac.
A £14 radio trigger fires the Vivitar and a 20 year old slave operates the Starblitz. And yes there is hot tea in the mug, it's just visible in the reflection in my glasses! This was the third shot out of about fifty - must have fell asleep with my finger on the trigger!
How to convert one of these cheap radio triggers to operate a Canon camera is posted on a newer blog.
Keith's Keyboard Shortcuts. Most of these will work in Photoshop Elements 4 upwards, plus CS, CS2, and CS3.
D = Background and Foreground default to pure white and black.
X = swaps Foreground and Background colours. (Ideal when painting in Layer Masks)
M = Marquee selection tool.
Q = Quick Mask
G = Graduated filters
Alt + Backspace = fills the selected area with the foreground colour. (Great for silhouettes!)
Control + Backspace = fill the selected area with the Background colour
Shift + Move tool to centralise an added image
Control + A = Selects all
Alt + Backspace = fill the selected area with Foreground colour
Alt + Layer Mask icon creates a black mask you can see through (Reveal All) - white paint to hide.
X key to alternates between Foreground and Background to correct with black paint.
Control + Alt + C = canvas size / resize dialogue box.
Create New Layer icon = inserts a transparent new layer above the highlighted existing image
Control + Create New Layer icon = inserts a transparent new layer below the highlighted existing image.
Control + J = inserts a Copy layer above the highlighted existing layer.
Control + Shift + J = creates a transparent new layer containing just the selection, plus it turns the selection in the original layer transparent.
Control + D = de-selects the existing selection.
Control + O = Fit To Screen
Control and press the + (plus) key makes image zoom in closer, bigger
Control and press the - (minus) key makes image zoom out, smaller
Double click on the Hand tool = fit to screen
Double click on the Zoom tool (magnifying glass) = view at 100%
Control + H = hides selection lines (to view the finished effect as you’re making adjustments) Control + H to bring the selection lines back again, (otherwise you’ll be wondering why you can’t pick up any other tools)
Control + X = selection goes Transparent, to see the next layer down through what is essentially a hole.
Control + X also = Cut
Control + V = Paste
Control + C = Copy
Control + Z = goes back one step at a time, as many times as you like in the History palette.
Control + Y = goes forward one step at a time, as many times as you like in the History palette.
Control + U = Hue & Saturation dialogue box.
Control + C = Copy.
Control + V = Paste
Control + S = Save.
Control + T = Transform (hold Shift to keep width / height ratios while dragging a corner box during resize)
Control + Alt = Transform but it’s on a separate layer not the original.
Free Transform too big to see? = Control + 0 to see all four corner handles.
Using the Brush tool? = Right click to bring up the brush palette for Hardness and Size adjustments
Adding more area to an existing Selection = Hold down Shift and make additional selection which merges with previous area.
Removing an area from an existing Selection = Hold down Alt and select the area you don’t want included in your selection.
Increase your Canvas Size - go to Image - Canvas Size - position the Anchor square where you want your image on the new canvas - tick the Relative box - enter the required amount of increase in inches, centimetres, or pixels etc - click OK.